By Griselda M., last updated on October 8, 2024
What is the best way to cut a cheesecake? Well, let me tell you that besides using a knife to do so, there are many other ways to cut your cheesecake. Keep reading and you’ll see how to do this without making a real mess.
In the following paragraphs, you’ll see some useful tricks to achieving perfect cheesecake slices. There are actually some tricks that you wouldn’t imagine could work.
Oh dear, you won’t believe how easy it is.
Unmold Your Cheesecake
How to unmold your cheesecake from a springform pan? The first thing you need to do is cool and rest your cheesecake. It needs to be set up for at least 4 hours in the fridge or overnight if possible.
Then, you need to take it out of the fridge, pass a knife between the walls and your cheesecake to make sure it won’t stick towards your springform ring. Next, you would unlock the ring from the base, and lift it carefully.
How To Cut A Cheesecake
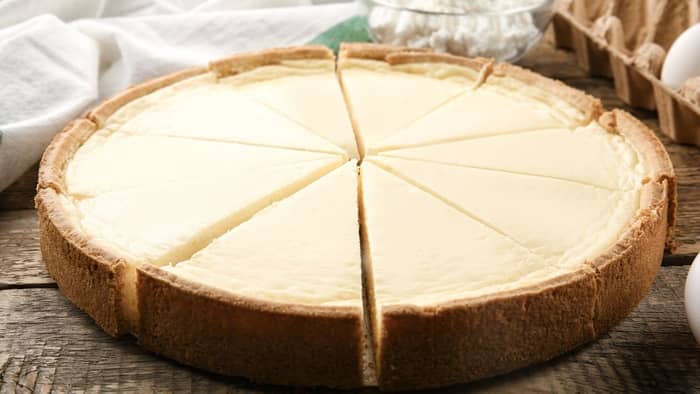
So what is the best way to slice a cheesecake? Well, most people would rather use a knife to do this. However, some people may have moved out from their parent’s house or have been recently separated from their spouse and they don’t have one in handy.
Let’s imagine for a minute the next scenario: they’re now living an independent life in this new place but they haven’t bought any kitchen cutlery set yet. They went to Costo and bought a turtle cheesecake. To avoid having to bite the whole thing, they’ll google how to slice a cheesecake and this post appears!
That is why we end up writing this post, to give you advice and help you with this situation. With that being said, let us show you 3 different ways to cut your cheesecake. You’ll see it’s super easy!
Trick #1: With a Knife
Once you’ve unmolded your cheesecake, get ready to slice it by using a sharp knife. I prefer to use a chef knife, it’s long enough to cut it correctly and carefully. And as a personal suggestion, I would recommend you take a look at the 14 best chef’s knives of 2021 according to experts.
Cutting a cheesecake with a knife is the most common way to do it. First, put some hot water in a bowl or a deep container. Then, put your sharp knife into the hot water, making sure is deep enough to cover the blade of your knife. Next, take it out and clean it with a clean kitchen towel and proceed to slice the cheesecake.
You would do this every time you cut a new slice. The hot water will help to prevent pieces of your cheesecake from sticking to the knife. Do this with your knife so it slips when it enters the cheesecake.
Trick #2: With Dental Floss
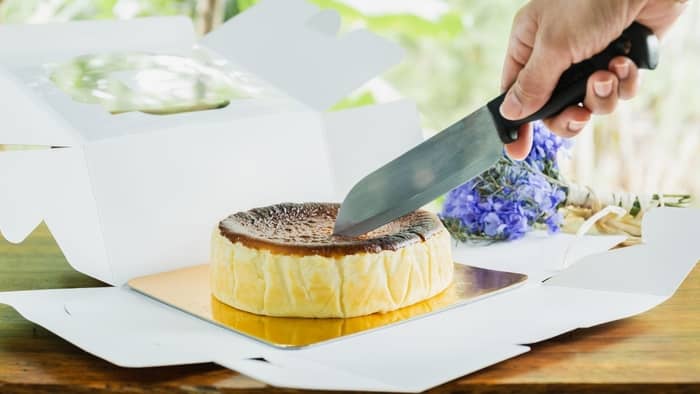
Yes, you read it right! You can actually use dental floss to cut a cheesecake. Make sure you choose an unflavored dental floss of course.
You just line it up over your cheesecake surface, press, and pull it through down on the bottom, so that you can make a perfectly clean cut. With this technique, every slice would be perfect! You’ll see that the unmarked and beautiful slice when you pull it out with your spatula.
Trick #3: With Plastic Thread
You can also use a rigid plastic thread to slice your cheesecake. But in case you don’t have that, you can use any thread. You just need to wet it before cutting. And this is our special secret of the day.
Read more about The Ultimate Pumpkin Cheesecake No Eggs
Things To Avoid When Cutting Your Cheesecake
These are some of the things you’ll need to avoid when cutting your cheesecake.
- Don’t use a serrated knife! Cheesecakes are so delicate, that if you use a serrated knife, your cheesecake will end up in a mess.
- Don’t cut your cheesecake at room temperature. Ten minutes are enough for it to chill once you take it out of the fridge.
- Avoid cutting your cheesecake before you refrigerate it. Remember that it needs to chill and set completely before you can do that.
- Remember to dip your knife into hot water, do not use cold or room temperature water.
- Do not cut two slices in a row, remember you need to dip your knife every time you do so. Each slice deserves to be beautiful.
- If you’re using a short knife, be careful and cut even slices. Follow the next steps to know how to do it correctly.
- Be aware if you’re cutting a cheesecake with dental floss after garnishing with fresh fruit, cookies, or another hard ingredient. You might want to decorate it after, not before.
Cutting Cheesecake In Eight, Twelve, Or Sixteen Slices
Cutting slices depends on the size of your cheesecake. So you can do eight slices for a small one and twelve or even sixteen for a big one. And here are the steps you need to follow to do it right.
With this guide, you will be cutting clean and professional-looking slices.
Cut Quarters
First, you will begin by cutting your cheesecake into quarters. Then, you can decide if you want 8, 12, or 16 slices.
Cut Eight or Sixteen Slices
Now that you have 4 quarters, you will cut each of them in half to yield 8 slices. If you want 16 slices, you will cut each of them in half once again.
Cut Twelve Slices
Once you have your cheesecake cut into quarters, then you can proceed to cut these into thirds. You can actually imagine the hours in a clock. Just saying!
Conclusion
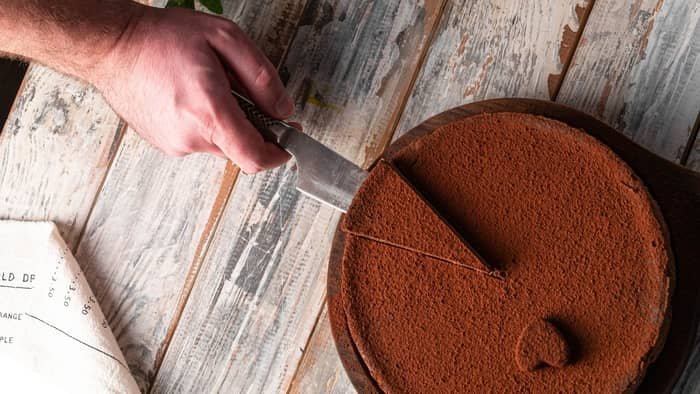
Certainly, cutting a cheesecake can be messy, just remember that if you’re using a knife to cut your cheesecake, you must keep it clean and smooth for every slice. You would dip it into hot water and wipe it out with a kitchen clean towel.
If you’re using dental floss, simply grab it and press it down all the way through the cheesecake until you reach the bottom of the springform pan. Then pull it out.
Don’t forget these steps and you’ll be the Ramsey cheesecake queen forever.
Make cooking fun!
Learn more about Why Sour Cream In Cheesecake?
Griselda is an experienced pastry chef and baker with a passion for creating delicious desserts. She has been cooking and baking for over ten years and loves the creative process of creating something special for her friends, family, and customers. Griselda has a special talent for creating beautiful and tasty desserts like cakes, pies, and cookies. She is experienced in a variety of baking techniques and loves to experiment with new flavors and textures. When Griselda isn‘t in the kitchen, she loves to spend time with her friends, family, and her two cats.
