By Lindy Van Schalkwyk, last updated on October 3, 2024
If you’re looking for a new way to serve cheesecake, then you will love these individual cheesecake pans! They’re unique, fun, and easy to use!
We all but guarantee that these will be the new talk of the town. And, by using individual cheesecake pans for bite-sized treats, you are expanding the decorating and serving potential of this simple dish. So, what are you waiting for? Let’s have a look at what they are and how to use them.
What Are Individual Cheesecake Pans?
These mini cheesecake pans allow you to make the cutest bite-sized cheesecakes! This opens the door up to be even more creative with flavors and how you want to decorate the dessert.
But, there seems to be a misconception about exactly what a proper (or authentic) mini cheesecake pan is. So, we are here to clear things up!
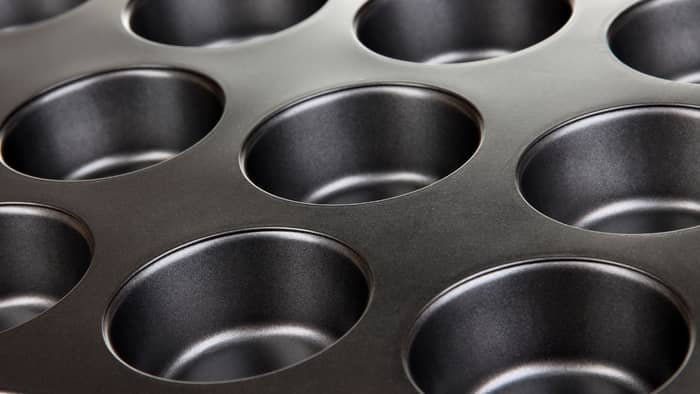
Mini individual cheesecake pans are very similar to a cupcake pan. However, where a cupcake pan is made from one solid piece of material, these pans have removable bottoms. Think of this pan as a combination between a cupcake tray and loose-bottomed pans.
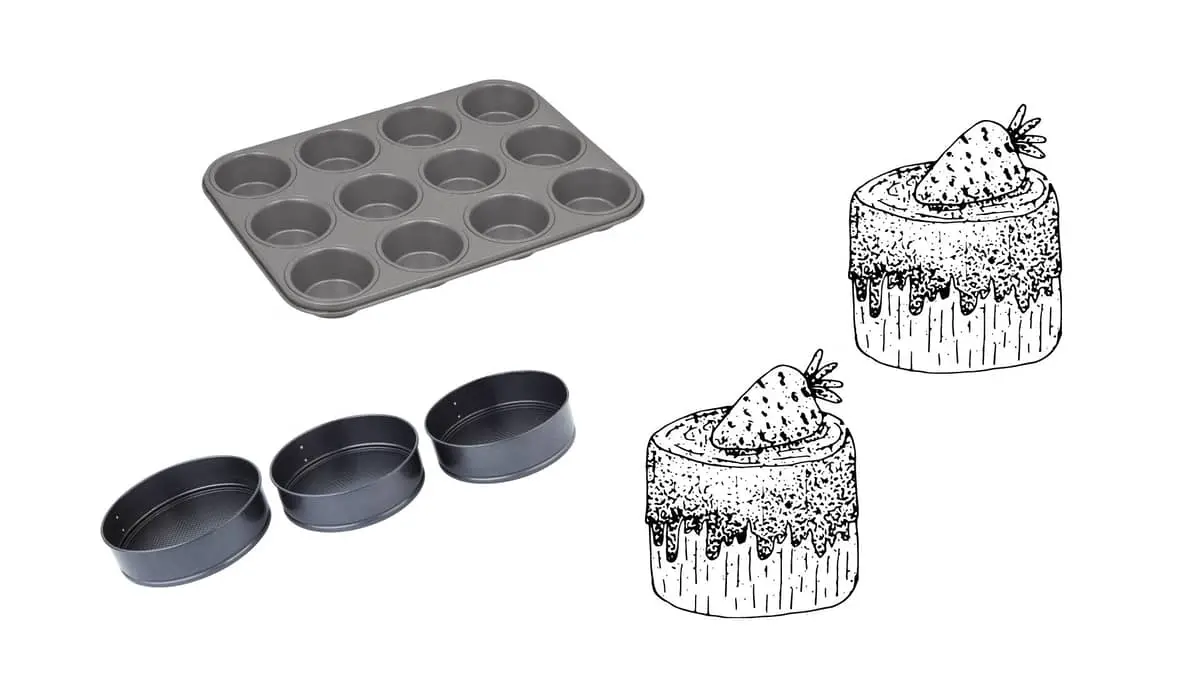
These pans have been designed in this very specific way to help easily remove the cheesecakes from their holes. If you have ever made a cheesecake before, you know that you use a springform pan because the cheesecake cannot be removed in any other way. You cannot flip it over or remove it with a fork. So, the sides of your springform pan unclasp and the cheesecake is slid off the base.
Mini cheesecake pans work in almost the same way. The only difference is that you press the bottom upwards to lift the cheesecake out of the hole.
Size of individual cheesecake pans
The size of these pans does vary quite a lot from manufacturer to manufacturer. On average, each cup measures at 1.5-inches (4cm) deep and 2-inches (5cm) in diameter.
A 12-cup tray will roughly measure at 17 x 11 x 2-inches in total. However, some pans allow a much larger border than others. The border and the space between the cups are what mostly determine the final size of the entire pan. Then, you also get some pans with added handles, which naturally add more size to the entire thing.
You do also get different trays that can hold varying amounts of cheesecakes at a time. You can find a 6-cup tray, 18-cup tray, and 24-cup tray. Keep in mind that whichever one you buy (specifically referring to the larger trays) will have to fit inside of your oven.
Can the cup size vary?
You can find different pans that have different sizes of individual cups. While we would say that we haven’t seen any cups that are larger than 1.5 x 2-inches, you can definitely find designs with larger dimensions. These will create bigger individual cups.
But, when choosing a pan, think about how you want to use it. If you are buying it to cater for events, then the smaller options will work best. But, if it is just a fun dessert, then a larger portion will probably work well as an individual dessert.
How to Use Individual Cheesecake Pans
These individual cheesecake pans are incredibly easy to use! We wouldn’t put a cupcake liner inside as that kind of defeats the purpose of these specific pans. Then you could have just used any regular cupcake or mini cupcake pan.
Most of these pans will be relatively non-stick, but it wouldn’t hurt just to lubricate it again. You can brush the sides and bottom with melted butter, shortening, or oil. Alternatively, you can spray it with non-stick cooking or baking spray.
Step 1: Assemble and lubricate the pan
So, to use these pans, place the bottoms of the cups inside of the cups. Then lubricate it with whatever you have on hand. We like to use butter as it adds color and flavor.
Step 2: Make your crust
Next, if you are making crusted mini cheesecakes, add the crumb and pre-bake them. They will bake for only a couple of minutes because they are incredibly small. if you are making a crustless cheesecake, skip this step. Although, crusted cheesecakes are always better (in our opinion) because of the texture they add.
Step 3: Add your filling
Once your crust has been pre-baked and cooled, add the cheesecake filling and bake the cheesecakes. These will also not bake as long, probably around 10 minutes.
Once baked, these cheesecakes can be slowly cooled, wrapped, and set inside the fridge. They will take about 2 hours to fully set.
Step 4: Remove and serve
Once baked and set appropriately, you can slide a sharp thin warmed knife blade around the edge of each mini cheesecake to ensure it is loose.
Then, simply pop them out by pushing the bottom. Once lifted and removed, you can remove the metal base underneath and serve or store the cheesecakes.

Tips For Using Individual Cheesecake Pans
- You do not have to add a sheet of non-stick baking paper underneath these. It will be far too much work to cut out all the discs and it won’t do much. The bases of these cheesecakes are much easier to remove as compared to a large base of a 9-inch springform pan.
- If you made a crustless cheesecake in these pans and the metal base doesn’t want to easily come off, again, use a sharp heated thin knife to slice it off the bottom.
- A 16-ounce cream cheese cheesecake recipe will make roughly 24 mini cheesecakes. So, if you only want 12 cups (roughly) then make an 8-ounce cream cheese recipe. These are rough estimates as some cheesecakes contain more or fewer eggs, cream, buttermilk, and sugar. All of which will affect the volume of batter you have and the amount of cheesecake you get.
- If you don’t have any individual cheesecake pans, you can use a mini cupcake pan. It will be more difficult to remove the cheesecakes, but you can definitely give it a try in a pinch. Alternatively, use loose-bottomed individual tart pans or ramekins. Alternatively, you can try making individual cheesecakes in glasses. They work best for no-bake cheesecakes because you don’t have to bake them at all!
In Conclusion – Individual Cheesecake Pans
If you are drooling to make mini cheesecakes, go have a look on our website for some amazing cheesecake recipes you can try. And, we even have a ton of topping ideas and recipes that will pair well with them. Let us know which mini cheesecakes you are going to try first!
Read more about 4 Easy Steps for Removing Cheesecake From a Springform Pan.
FAQs
[rank_math_rich_snippet id=”s-b5eafee1-87fb-42f0-9f70-fabddb9a112e”]

Lindy Van Schalkwyk is a culinary specialist with a background in Advanced Cooking, Advanced Pâtisserie, Media Communications and Nutrition. She has gained invaluable experience in the culinary industry having worked in some of the top restaurants in Africa in 2016 and 2017. Her expertise in nutrition has enabled her to develop recipes for special dietary needs. In 2018, Lindy began working in the Food Media industry, focusing on recipe development, recipe writing, food writing and food styling.


