By Lindy Van Schalkwyk, last updated on January 26, 2023
If you want to learn how to use a springform pan for cheesecake, then this guide is for you! We’ll look at how to line and bake with these handy pans!
Our comprehensive guide will enable you to effectively use these pans for the rest of your life! And, we have even included some different ways you can bake with them too!
What Is A Springform Pan?
Before looking at exactly how to use a springform pan for cheesecake, you first need to understand what a springform pan is.
These pans are quite unique in the baking world and there aren’t any others that are even remotely similar to them. They consist of two pieces that interlock with each other to form one cake pan.
A springform pan has a base piece and a side (or edge) piece. The side piece is one large round piece of metal that works with a clasp.
This makes it easy to remove a cheesecake from the pan without flipping the fragile filling over.
To assemble a springform cake pan, you place the bottom in the center of the ring and shut the clasp tightly. This creates a seal from which the cake batter cannot escape.
These pans are generally non-stick to a certain degree. And, they are relatively easy to use. The real problem comes in when you don’t know exactly how to work it.
And trust us, we made a ton of mistakes at first too! Our cheesecake batter completely leaked from the pan within the first 30 minutes of baking!
How to use a springform pan for cheesecake
So, knowing how to use a springform pan for cheesecake is crucial. Without the right tips and tricks, your cheesecake could also end up at the bottom of the oven!
There are only really two important steps or stages to using a springform cake pan correctly. The first is when you assemble and line the pan, and the second is when you bake the cheesecake.
We will be looking at each of these stages in more depth in this article. So, let’s get to it!
1)How To Use A Springform Pan For Cheesecake – What You Will Need To Line It
Equipment
- Non-stick baking paper
- Ruler, optional
- Scissors
- Non-stick cooking spray
How to line a springform cake pan
Step 1: Measure out your baking paper disc
To start, draw a 10-inch perfect circle onto your baking paper. There are a couple of ways to do this, but the easiest is to trace the cake pan base directly onto the paper.
Once the disc is drawn, you can cut it out of the paper. See if it fits perfectly onto your cake pan base. If it is too big, trim the edges slightly. But, if it is far too small, you will have to cut a new disc.
Step 2: Assemble the springform pan
To assemble your cake pan, you first have to lay the base flat on the counter. Make sure that the lip of the base faces downwards (it should point down).
Place the ring edge over the base and clasp it tightly.
Step 3: Line the pan with spray
Once your springform pan is assembled, you can spray the entire surface with non-stick cooking or baking spray.
Make sure to get the spray into the edges of the pan as well. The coating shouldn’t be too thick, as this will prevent the cheesecake from rising.
You will find more usefull tips about how to line a springform pan for cheesecake, here:
Step 4: Insert your baking paper
Finally, insert your baking paper disc into the cake pan. Again, make sure it fits perfectly. Then, continue filling your pan with a crust (optional) and cheesecake filling.
2) How To Use A Springform Pan For Cheesecake – Baking In The Oven
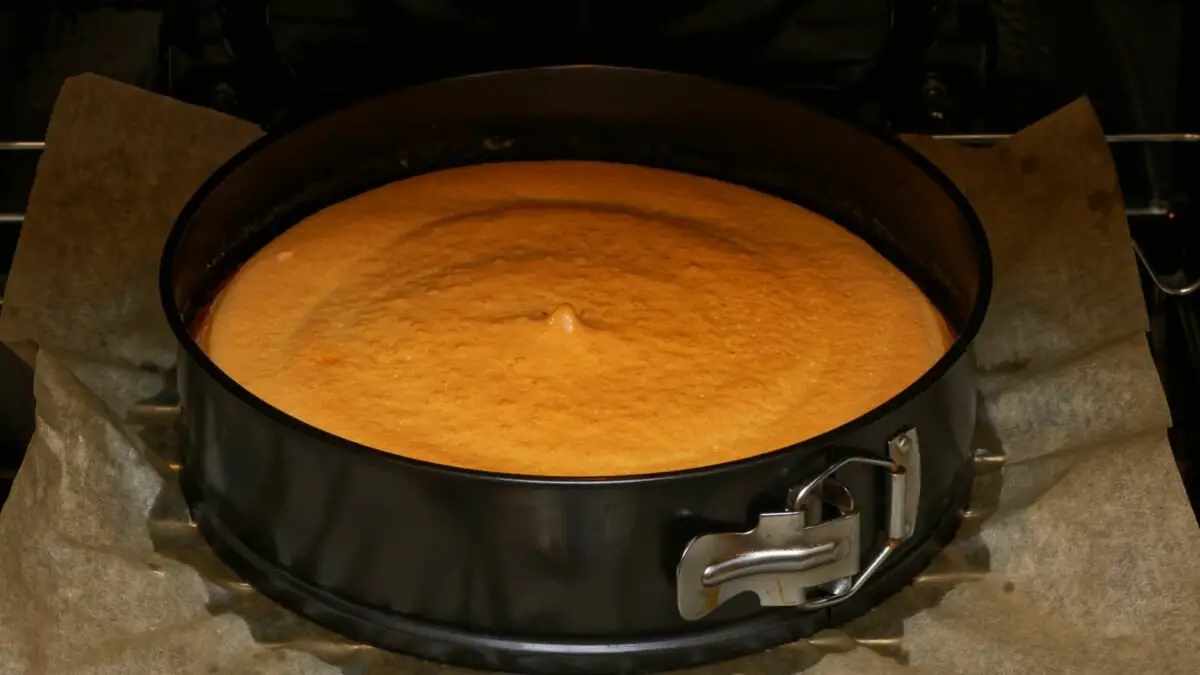
This method doesn’t use any additional baking aids like the bain-marie which we will discuss below. It is the easiest way to bake a cheesecake, but it could lead to uneven baking if done incorrectly.
Step 1: Add the crust
Once your springform pan is lined, pack in the crumbs to form the cheesecake crust. if you are making a baked cheesecake, partially bake the crust before adding the filling.
Step 2: Add the filling
Once the crust has been partially baked and cooled, you can add your cheesecake filling. Smooth out the top and make sure it’s level.
Step 3: Bake the cheesecake
Then, bake it in a preheated oven according to the recipe’s instructions.
Once it has been fully baked, you can leave it in the pan to cool completely and set it inside the fridge overnight.
3) What You Will Need To Make A Bain Marie
Equipment
- Large roasting tray
- Hot water
- Lined springform pan
- Foil
- Cheesecake recipe
Baking with a bain marie – How to use a springform pan for cheesecake
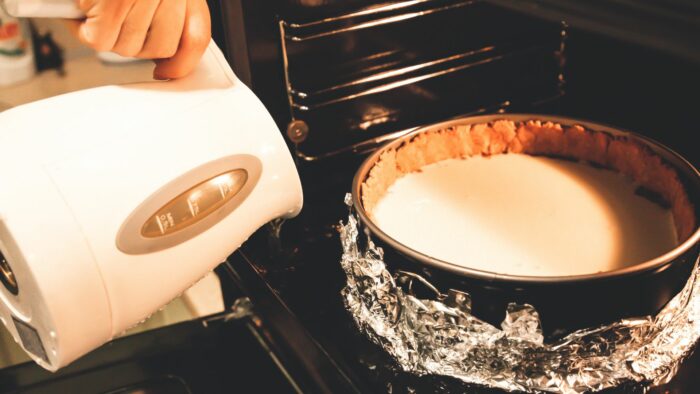
Step 1: Prepare the bain-marie
Preheat your oven to the temperature the recipe calls for. Then, fill a large roasting tray with an inch of hot water. Place it in the oven to remain warm.
Step 2: Prepare your springform pan
Once the springform pan is lined, you can create a large foil band that will fit around the sides of the pan.
This foil band isn’t necessary, but it will help bake the filling more easily and help eliminate hot spots in your oven.
Step 3: Fill the cheesecake pan and bake
Fill your cheesecake pan with the crust and filling as the recipe calls for. Then, place the entire pan inside the hot water. Fill it with more water until it reaches about an inch beneath the top edge of the pan.
Close the oven door and allow the cheesecake to bake as the recipe instructs.

Tips And Tricks
- It isn’t the end of the world if the lip of the springform pan doesn’t face the correct side. It will just create a lid-shaped ridge at the base of your cake. But, nothing else will really go wrong.
- If you don’t like using a non-stick baking spray, you can also brush the pan with melted unsalted butter or shortening. They will make the outside of the cake browned, but it will still work nicely.
- Baking without a bain-marie has its pros and cons. It’s hassle-free, easy, and quick. It does work well, but it cannot eliminate hot spots in your oven and you are more likely to have unevenly baked cheesecakes.
- Baking with a bain-marie is more work. But, it is one simple step that will give you a better-textured cheesecake that is evenly baked.
Conclusion
Many people are intimidated by springform pans. But, hopefully, after reading our guide on how to use a springform pan for cheesecake, you can confidently bake to your heart’s content!
If you enjoyed our educational article, go have a look at our site for many more!
FAQs

Lindy Van Schalkwyk is a culinary specialist with a background in Advanced Cooking, Advanced Pâtisserie, Media Communications and Nutrition. She has gained invaluable experience in the culinary industry having worked in some of the top restaurants in Africa in 2016 and 2017. Her expertise in nutrition has enabled her to develop recipes for special dietary needs. In 2018, Lindy began working in the Food Media industry, focusing on recipe development, recipe writing, food writing and food styling.

