By Griselda M., last updated on May 19, 2022
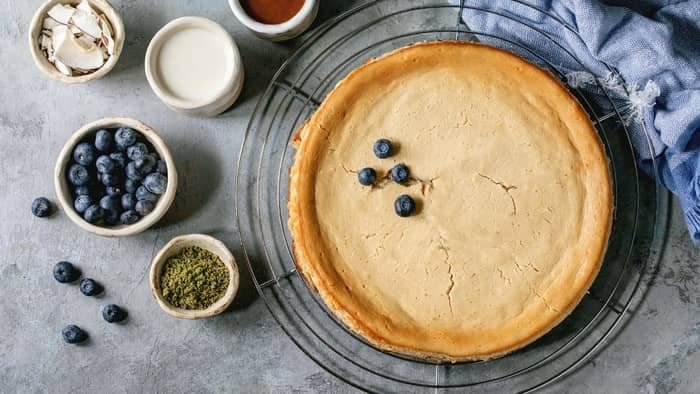
How to keep your cheesecake from cracking? This is something we can´t really control, but we can definitely avoid or prevent it if we act carefully and meticulously.
We’ve made our research with professionals cooks to give you all the information and the tools you need to bake a perfect cheesecake. As you know, perfection comes from hard work and dedication. Let us tell you how.
Why Did My Cheesecake Crack?
You might be baking one right now, and you have found the right place to get tips and tricks either before the baking, during the baking, or after the baking process.
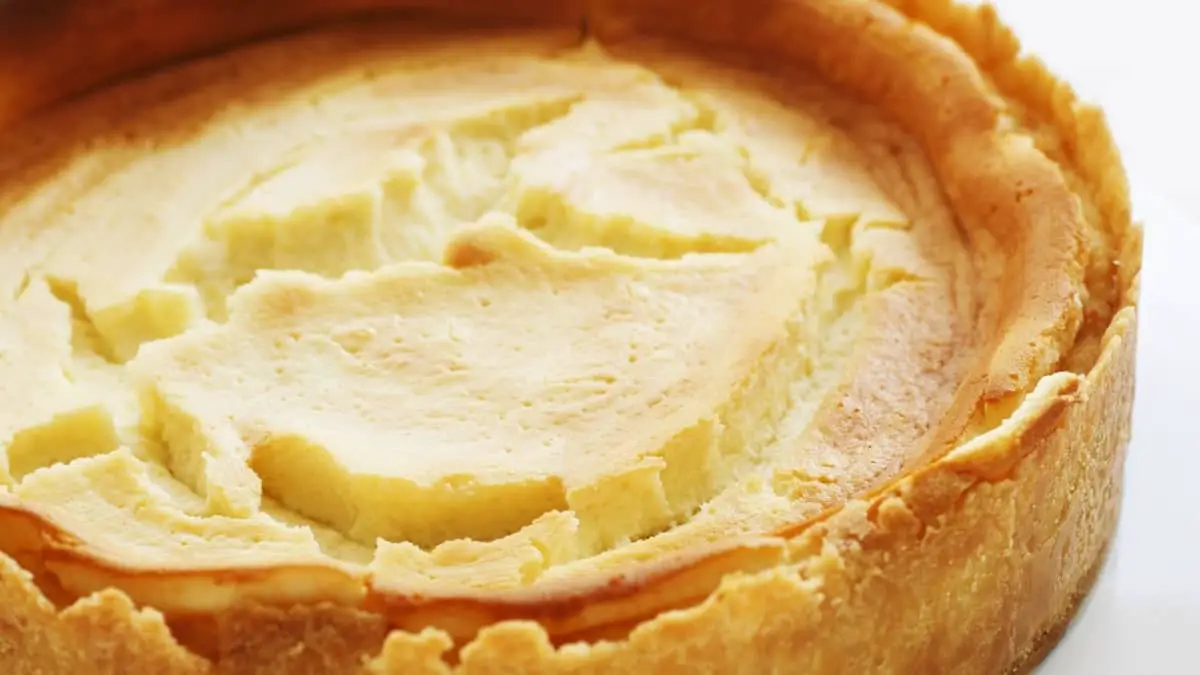
This happens when you overbeat or overbake your cheesecake batter. Let me tell you that I’m a perfectionist type of person, especially in the kitchen. I would feel down if something goes wrong, but hey, it’s normal. Even the best cook can evaporate boiling water right? So here we’re listing 6 reasons why your cheesecake cracks:
- Over baking. This is because the cheesecake gets too dry.
- High temperature.
- Excess beating. This puts more air into your batter, which causes the cheesecake to rise, fall, and then crack.
- Air bubbles.
- No water bath -bain-marie- tecnique.
- Rush cooling.
Keep Your Cheesecake From Cracking
Cheesecakes are super delicious and delicate. Thus, a crack in a cheesecake surface is very common, so don’t feel bad if yours appears to have one, it’s not the end of the world and this will still have the same tasty flavor anyways.
But if you’re like me, that takes care of a dessert appearance, take a look at the following section. We will give you 7 tips and tricks you can do to avoid your cheesecake from cracking.

Tip #1: Don’t Overmix Ingredients
- Start with room temperature cream cheese.
- Pour the sugar and mix at low speed.
- Pour the eggs (one by one).
- Scrape bowl well.
- Add the cream and the vanilla extract at the end, mix and stop when the mixture is smooth.
- Avoid mixing until “light and fluffy”.
Tip #2: Eliminate Air Bubbles
- Tap your springform pan on the counter or preparation table to eliminate air bubbles.
- Make sure you don’t miss this step because this is one of the main reasons why the cheesecakes’ surface cracks, air bubbles allow the air to penetrate easily and therefore to crack.
Tip #3: Bake Your Cheesecake In a Water Bath for Cheesecake
- Wrap your pan with 2 layers of aluminum foil.
- Place your springform pan in the center of a roasting pan.
- Fill roasting pan with one-inch water.
- This ensures gently, even baking.
Tip #4: Don’t Overbake Your Cheesecake
- Tap the side of the springform pan, make sure the center jiggles before taking it out of the oven.
- The outer -two or three inches- should be firm, and the center should wiggle like gelatine. So make sure it jiggles to help avoid dryness.
- If you have a thermometer, you can check the center temperature and ensure this is at 150 degrees.
Tip #5: Let It Cool
- Remove your cheesecake from the oven and cool for one hour at room temperature, in the hot water. Don’t worry, the center of your cheesecake will finish baking gently.
- Take it out of the large pan and let it cool until warm.
- To loosen the cheesecake, run a knife around the inside edge walls once per hour.
- Be patient, let it cool slowly, this is the key to a perfect texture.
Tip #6: Refrigerate Overnight
- Once your cheesecake is completely cool, wrap the springform pan with plastic film. Don’t forget to do this! It is a very important step, we don’t want an external body or funny flavor to get in.
- Refrigerate for a minimum of 3 hours, the best way to do it is to leave it in the fridge overnight.
- The next day, take it off the fridge, remove the plastic film, and let it rest at room temperature for at least 30 minutes before serving.
Tip #7: Know Your Oven (Avoid High Temperature)
- Know your oven. Some oven thermometers are not accurate, they can give you a lower one and it could actually be a higher one.
- Get a reliable thermometer.
Cheesecake Craked?
As we mentioned before, cheesecakes crack for many reasons, but we can easily fix it, don’t worry. Take a look at this magical method.
Let’s say you followed all the directions of your recipe and you applied the tips and tricks we told you before, but you see that your cheesecake cracked during the cooling stage. What can you do? A quick fix: Cover the crack up with a bunch of fresh fruit, chocolate ganache, Nutella, caramel, or whipped cream.

Repairing The Crack
Don’t freak out! You’re in the right place. Follow the next steps to fill out your crack.
- A great way to close up the crack is waiting for it to get cold, it works better that way.
- Fill in the deep cracks with your favorite ingredient, make sure to use an ingredient that matches your cheesecake flavor.
- Wash your hands, and with your clean fingers, press the cracks as close as possible.
- Use a warm and wet spatula to smooth over the cheesecake surface. Repeat until you have a smooth and even top.
Another filling option:
Fill the crack by mixing a scoop of sour cream, a dash of vanilla extract, and granulated sugar. Mix it well and spread this mixture on the surface of your cheesecake. Make sure it gets into the cracks also, then bake it for ten more minutes.
Final Words
Sometimes, we proudly pull our cheesecake from the oven and it looks perfect. But as it cools, a crack appears and you can’t hide it. The spatula option worked perfectly for me and it’s actually the easiest one.
Your cheesecake might not be 100% perfect, but with imagination and personality, you can decorate it the way you want to. Remember, the most important trick is to avoid overbaking.
If you want to know How Long Will Cheesecake Last In The Refrigerator, this lasts from 3 up to 7 days. And also, remind yourself that there’s always a solution.
Griselda is an experienced pastry chef and baker with a passion for creating delicious desserts. She has been cooking and baking for over ten years and loves the creative process of creating something special for her friends, family, and customers. Griselda has a special talent for creating beautiful and tasty desserts like cakes, pies, and cookies. She is experienced in a variety of baking techniques and loves to experiment with new flavors and textures. When Griselda isn‘t in the kitchen, she loves to spend time with her friends, family, and her two cats.

