By Lindy Van Schalkwyk, last updated on March 8, 2022
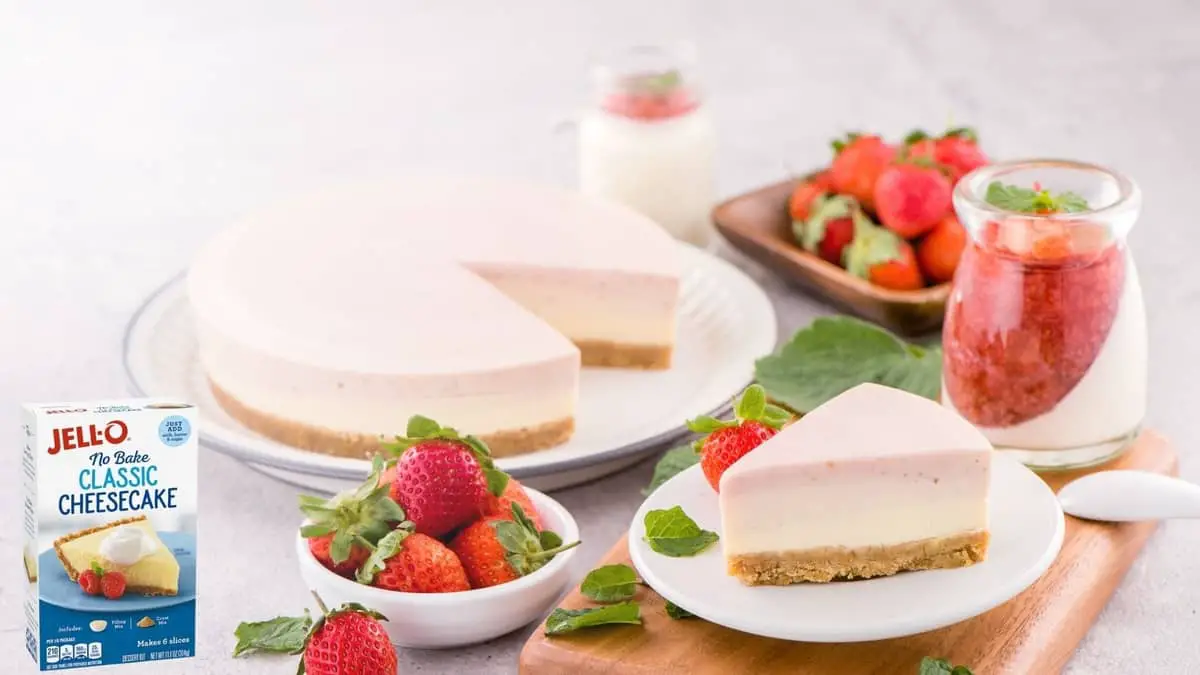
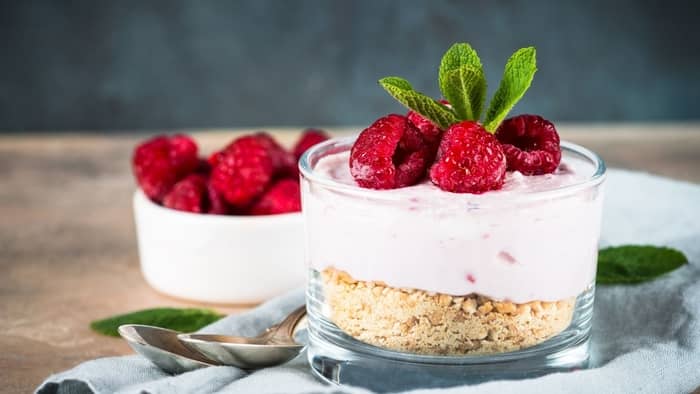
These step-by-step jello no-bake cheesecake instructions will leave you with a rich, creamy, and fluffy raspberry-flavored cheesecake.
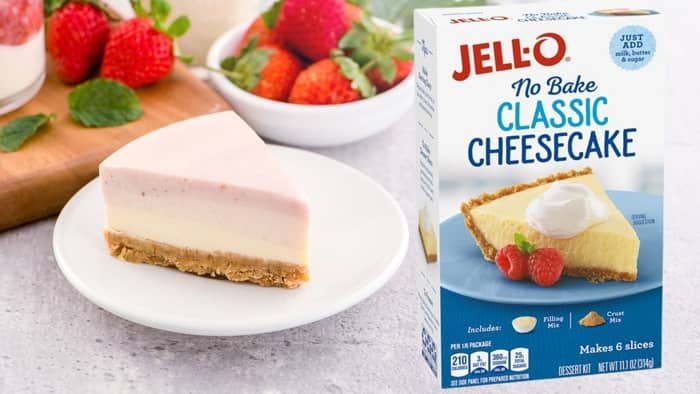
For today’s cheesecake recipe, we will be making use of instant jello to help perfectly set this cheesecake recipe and add an interesting flavor. The jello also gives you the flexibility to choose any flavor that you’d like and pair it with a topping of your choice.
What Is Jello No-bake Cheesecake?
This is an extremely fun recipe that you have to try! It’s basically fool-proof! This no-bake jello cheesecake recipe uses a basic cheesecake batter, but also includes jello.
The jello does two things. First and foremost, it helps set the cheesecake without effort. The second is that it adds the delicious flavor of the packet you chose. This also naturally means that you have an extremely wide range of flavors you can choose from!
And, before anyone asks; this no-bake cheesecake doesn’t contain any eggs. Because we aren’t baking it, the eggs would have remained raw and aren’t safe to eat.
What You Will Need To Make This Jello No-bake Cheesecake Recipe
Ingredients for the Graham Cracker Crust
- 2 cups crushed graham crackers
- 1/3 cup fine white sugar (castor sugar)
- 7 tablespoons salted butter, melted
Ingredients for the Jello no-bake Cheesecake Filling
- ¾ cup boiling water
- 4-ounce raspberry jello
- 24 ounces full fat cream cheese, softened
- 1 cup confectionery’s sugar (powdered sugar)
- 1 tablespoon lemon juice
- 1 ½ cups whipping cream
Equipment
- Food processor, optional
- 9 / 10-inch springform cake pan (or regular cake pan)
- Mixing bowls
- Electric hand or stand mixer
- Silicone or rubber spatula
Jello No-bake Cheesecake Instructions – Step By Step
Step 1: Start by making the Graham Cracker Crust
Place the whole graham crackers inside a food processor and blend them until a fine crumb form. Then, add the fine white sugar and mix it in. While the food processor is running at a low speed, slowly add the melted butter until the ingredients are well combined.
If you don’t have a food processor, you can simply combine crushed graham crackers, fine sugar, and melted butter using a spatula.
Step 2: Line the Springform Pan
Next, press the graham cracker crumb into the bottom of a 9 or 10-inch springform pan. Make sure the crust is even and tightly packed. Use the bottom of a flat measuring cup to help pack the crumb inside.
Then, you should chill the base inside the fridge for at least 2 hours before adding your cheesecake filling.
Step 3: Make the Cheesecake Batter
First, combine the boiling water and jello. Stir the mixture until all of the jello granules have been dissolved. Then, allow the jello to cool completely while preparing the rest of your filling.
In a mixing bowl or the bowl of your stand mixer, beat the softened cream cheese until it is light and fluffy. Then, add the confectionery’s sugar and lemon juice. Make sure to mix the ingredients together until they are well combined.
Next, while the mixer is running at a low speed, slowly add the completely cooled jello mixture. Make sure to scrape the sides to ensure that all of the ingredients are well incorporated. Set aside the mixture.
Now, whip the heavy cream until it reaches medium peaks. You can also use store-bought whipped cream.
Finally, gently fold the cream mixture into the jello base until it is evenly mixed.
Step 4: Assemble the Jello Cheesecake
Once your filling is made and the crust has rested for at least 2 hours, you can assemble the cheesecake. Gently spoon the mixture into the springform pan and make sure the top is smooth.
Step 5: Chill the Cheesecake
Place the assembled cheesecake inside the fridge. Allow it to set for at least 6 hours or until the filling has completely set.
Once you are ready to serve your jello no-bake cheesecake, loosen the cheesecake from the pan using a sharp and thin knife. Then, unclamp the sides of the springform pan and remove.
Tips and Tricks for this Cheesecake Recipe
- To save time, you can pre-make and freeze the crust inside of the springform pan until you are ready to use it. Simply wrap the entire pan with plastic or saran wrap and place it in the freezer. It will last up the 3 months. To thaw, simply place it inside the fridge for an hour before adding your cheesecake filling.
- If you don’t want to make a graham cracker crust, you can also have a look at these fantastic alternatives.
- For this jello no-bake cheesecake recipe, you can use any flavor of jello you want! This will give you a wide variety of flavor options to try which you can also match to the toppings used. Some of our favorite flavors include lemon, black cherry, peach, strawberry, and pineapple.
- We didn’t include a topping for this no-bake jello cheesecake, but you can choose virtually any topping of your choice. Whipped cream works well with any flavor and is easy to make. You can also choose garnished based on the flavor of jello you are using. For example, use
- To achieve the best results, we highly recommend following the jello no-bake cheesecake instructions exactly. This is already an extremely easy recipe. Don’t use low-quality ingredients or try mixing all of the ingredients together at once.
How To Store Your No-bake Jello Cheesecake
To store your leftover no-bake cheesecake, simply wrap it tightly with plastic or saran wrap and keep it inside the fridge for up to 4 days.
Alternatively, you can freeze your no-bake cheesecake using these instructions. It is extremely easy, but keep in mind, it won’t ever be the same as compared to freshly made cheesecake.
Servings And Preparation Time
| Prep time | Setting time | Servings |
| 30 minutes | 8 hours | 8-10 |
Conclusion
As you can see, this is arguably one of the easiest no-bake cheesecakes recipes we’ve ever covered. And thanks to the jello, your cheesecake will set perfectly and still have an incredibly rich and creamy texture. If you love this recipe or have any questions, let us know in the comments below!
Jello No-bake Cheesecake
Equipment
- Food processor, optional
- 9 / 10-inch springform cake pan (or regular cake pan)
- Mixing bowls
- Electric hand or stand mixer
- Silicone or rubber spatula
Ingredients
Ingredients for the Graham Cracker Crust
- 2 cups crushed graham crackers
- 1/3 cup fine white sugar castor sugar
- 7 tablespoons salted butter melted
Ingredients for the Jello no-bake Cheesecake Filling
- ¾ cup boiling water
- 4- ounce raspberry jello
- 24 ounces full fat cream cheese softened
- 1 cup confectionery’s sugar powdered sugar
- 1 tablespoon lemon juice
- 1 ½ cups whipping cream
Instructions
- Place the whole graham crackers inside a food processor and blend them until a fine crumb form. Then, add the fine white sugar and mix it in. While the food processor is running at a low speed, slowly add the melted butter until the ingredients are well combined.
- If you don’t have a food processor, you can simply combine crushed graham crackers, fine sugar, and melted butter using a spatula.
- Next, press the graham cracker crumb into the bottom of a 9 or 10-inch springform pan. Make sure the crust is even and tightly packed. Use the bottom of a flat measuring cup to help pack the crumb inside.
- Then, you should chill the base inside the fridge for at least 2 hours before adding your cheesecake filling.
- First, combine the boiling water and jello. Stir the mixture until all of the jello granules have been dissolved. Then, allow the jello to cool completely while preparing the rest of your filling.
- In a mixing bowl or the bowl of your stand mixer, beat the softened cream cheese until it is light and fluffy. Then, add the confectionery’s sugar and lemon juice. Make sure to mix the ingredients together until they are well combined.
- Next, while the mixer is running at a low speed, slowly add the completely cooled jello mixture. Make sure to scrape the sides to ensure that all of the ingredients are well incorporated. Set aside the mixture.
- Now, whip the heavy cream until it reaches medium peaks. You can also use store-bought whipped cream.
- Finally, gently fold the cream mixture into the jello base until it is evenly mixed.
- Once your filling is made and the crust has rested for at least 2 hours, you can assemble the cheesecake. Gently spoon the mixture into the springform pan and make sure the top is smooth.
- Place the assembled cheesecake inside the fridge. Allow it to set for at least 6 hours or until the filling has completely set.
- Once you are ready to serve your jello no-bake cheesecake, loosen the cheesecake from the pan using a sharp and thin knife. Then, unclamp the sides of the springform pan and remove.
Notes
Tips and Tricks for this Cheesecake Recipe
To save time, you can pre-make and freeze the crust inside of the springform pan until you are ready to use it. Simply wrap the entire pan with plastic or saran wrap and place it in the freezer. It will last up the 3 months. To thaw, simply place it inside the fridge for an hour before adding your cheesecake filling.
Lindy Van Schalkwyk is a culinary specialist with a background in Advanced Cooking, Advanced Pâtisserie, Media Communications and Nutrition. She has gained invaluable experience in the culinary industry having worked in some of the top restaurants in Africa in 2016 and 2017. Her expertise in nutrition has enabled her to develop recipes for special dietary needs. In 2018, Lindy began working in the Food Media industry, focusing on recipe development, recipe writing, food writing and food styling.
