By Lindy Van Schalkwyk, last updated on October 3, 2024
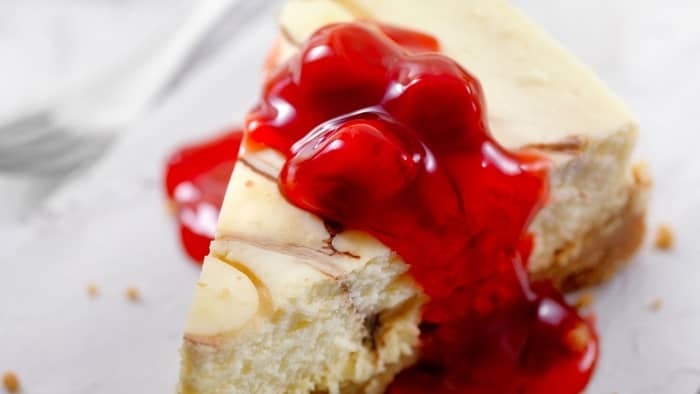
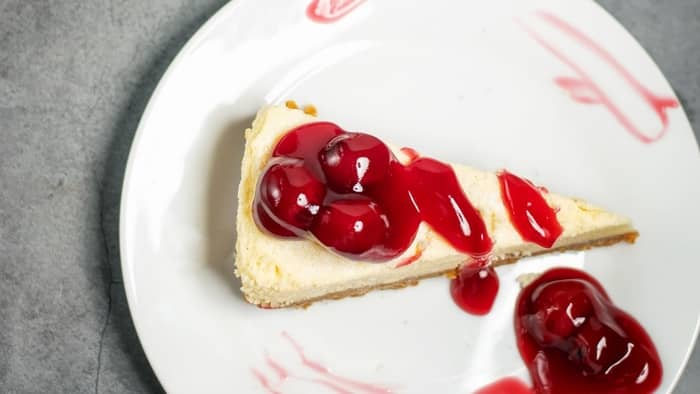
We have an extremely versatile canned cherry topping for the cheesecake recipe. You can even use fresh or frozen berries! It’s flavorful, rich, and easy!
What Is A Canned Cherry Topping For Cheesecake?
Before we dive deep into this delicious topping and how to make it, it is important to understand what the product is we will be using today.
You are all probably already familiar with a cherry. This tiny berry has a bright red color when ripe and a firm, yet juicy texture. It is absolutely delicious and extremely versatile. But, unfortunately, these fruits are extremely seasonal and don’t grow in many parts of the world.
So, to extend their shelf life, people have started to preserve them in many different ways. One way people have preserved these fruits is by making maraschino cherries. These cherries are preserved in extremely sweet and thick sugar syrup. Depending on the variety of cherries used, you can get them in different shades of red, pink, and purple.
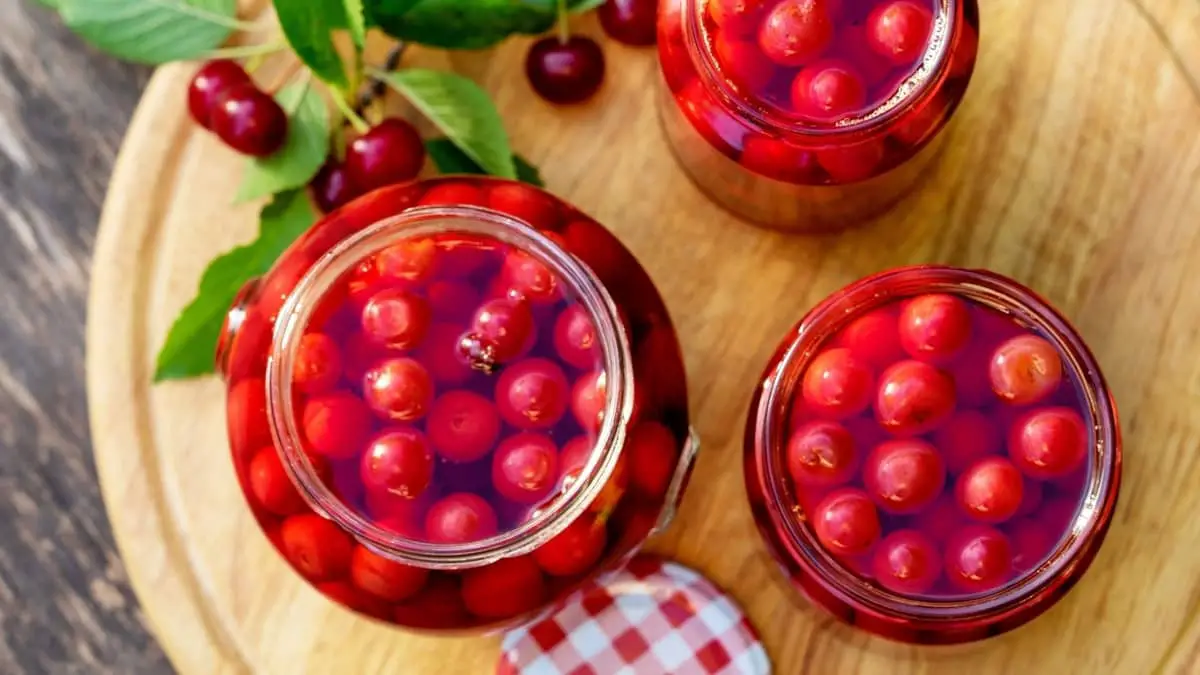
Another way cherries are preserved is by canning them. This technique helps keep most of the cherry’s natural flavor without altering it as much as the thick syrup does.
Canned cherries are often preserved in light sugar water. The sugar (which is the preserving agent) also helps soften the cherries, which makes them perfect for this canned cherry topping for cheesecake.
How To Make A Canned Cherry Topping For Cheesecake – What You Will Need

Ingredients
- 1 can of pitted cherries
- 1/2 cup reserved canned cherry juice
- 3 tablespoons caster sugar
- 1 tablespoon lemon juice
- 1 tablespoon cornstarch
- 1 tablespoon water
Equipment
- Cherry pitter or knife
- Strainer
- Mixing bowls
- Medium saucepan
- Whisk
Steps To Make A Cherry Topping For Cheesecake
Step 1: Prepare the cherries
If you cannot find any pitted canned cherries, take the time to remove the pits. It is a crucial step. You can use a cherry pitter or remove them using a knife.
Then, drain the cherries from the can, but keep the liquid aside. We are going to be using it too.
Step 2: Make the cherry topping base
First, combine the prepared cherries with 1/2 cup reserved cherry juice, caster sugar, and lemon juice. Place the saucepan over medium-high heat and bring the mixture to a boil.
Give the mixture an occasional whisk to ensure it doesn’t stick to the bottom of the pan.
Step 3: Make the slurry and thicken the topping
While the mixture is starting to boil, start making the slurry in a separate bowl. Combine the corn starch and water and whisk until they are smooth.
Once your cherry mixture starts to boil, reduce the heat. Whisk in the cornstarch slurry and make sure it is completely incorporated into your cherry sauce.
Step 4: Cook the cherry sauce and adjust the consistency
Continue cooking the sauce over medium heat. Allow it to simmer for roughly 5 more minutes or until it has thickened to your liking.
If you want to adjust the consistency, this is the time to do it. Just keep in mind that your canned cherry topping for cheesecake will still thicken when it is cooled.
Step 5: Cool and store your cherry topping
Before you use your cherry topping, you have to completely cool it first. You can pour the topping into another heat-proof bowl and allow it to cool completely at room temperature.
If you want to store the topping for a day or so, you can simply place it into an airtight container and keep it inside the fridge.
How To Substitute Canned Cherries With Fresh Cherries For This Recipe?
Naturally, this recipe uses canned cherries instead of fresh or frozen ones. But, if you are lucky enough to get your hands on some of those, definitely make this recipe with them instead.
Fresh cherries have a much more pure cherry flavor and are extremely juicy and tender. It will add a fantastic texture to your sauce too, which will complement the texture of the cheesecake well.
Frozen cherries are less flavorful than fresh cherries but more flavor-filled than the canned version.
Using fresh cherries
To use fresh cherries instead of canned, you can simply use 1 1/2 cups of pitted cherries. If you want to, you can macerate them in a sugar syrup before adding them to this recipe. But, we prefer using them fresh.
You can also chop them up a bit to give the sauce a finer texture. Especially with fresh cherries that have a firm texture, big chunky pieces aren’t a favorite for every person.
Using frozen cherries
When using frozen cherries for this recipe, make sure to use them immediately and don’t allow them to defrost. When defrosting them, you will cause them to completely lose their texture.
By using them from frozen, the excess moisture is immediately evaporated as the cherries are cooked. It just makes the topping more flavorful and less mushy.

How To Adjust The Consistency Of This Canned Cherry Topping For Cheesecake?
Adjusting the consistency of this canned cherry topping for cheesecake is extremely easy. There are a few ways you can do so.
Remember, it is always easier (and quicker) to thin down a sauce than it is to thicken it up.
1. Adjust the liquid amount
You can reduce the initial amount of liquid you add to ensure your final product will be nice and thick. Then, you can simply add more liquid to help thin down the topping afterward.
But, if you followed the recipe exactly and it is still too thick, you can just add more water or canned cherry juice. The cherry juice will help add more flavor.
2. Add more corn starch
To help thicken the sauce, you can add more of the corn starch slurry you have made. To make the slurry, combine equal parts of corn starch and water. Whisk these ingredients until they become smooth.
Then, whisk it directly into the cherry sauce. The mixture has to simmer to cook out the starchy flavors and texture.
Canned Cherry Topping For Cheesecake – Wrapped Up
We are absolutely obsessed with this canned cherry topping for cheesecake. Especially because you can use canned, fresh, or frozen cherries! Let us know if you have tried this recipe with cheesecake and what you think about it!
FAQs
[rank_math_rich_snippet id=”s-b6cf66db-1702-4cc0-8a6d-0c570e2552f1″]
Canned Cherry Topping For Cheesecake
Equipment
- Cherry pitter or knife
- Strainer
- Mixing bowls
- Medium saucepan
- Whisk
Ingredients
- 1 can pitted cherries
- 1/2 cup reserved canned cherry juice
- 3 tbsp caster sugar
- 1 tbsp lemon juice
- 1 tbsp cornstarch
- 1 tbsp water
Instructions
- If you cannot find any pitted canned cherries, take the time to remove the pits. It is a crucial step. You can use a cherry pitter or remove them using a knife.Then, drain the cherries from the can, but keep the liquid aside. We are going to be using it too.
- First, combine the prepared cherries with 1/2 cup reserved cherry juice, caster sugar, and lemon juice. Place the saucepan over medium-high heat and bring the mixture to a boil.Give the mixture an occasional whisk to ensure it doesn't stick to the bottom of the pan.
- While the mixture is starting to boil, start making the slurry in a separate bowl. Combine the corn starch and water and whisk until they are smooth.Once your cherry mixture starts to boil, reduce the heat. Whisk in the cornstarch slurry and make sure it is completely incorporated into your cherry sauce.
- Continue cooking the sauce over medium heat. Allow it to simmer for roughly 5 more minutes or until it has thickened to your liking.If you want to adjust the consistency, this is the time to do it. Just keep in mind that your canned cherry topping for cheesecake will still thicken when it is cooled.
- Before you use your cherry topping, you have to completely cool it first. You can pour the topping into another heat-proof bowl and allow it to cool completely at room temperature.If you want to store the topping for a day or so, you can simply place it into an airtight container and keep it inside the fridge.

Lindy Van Schalkwyk is a culinary specialist with a background in Advanced Cooking, Advanced Pâtisserie, Media Communications and Nutrition. She has gained invaluable experience in the culinary industry having worked in some of the top restaurants in Africa in 2016 and 2017. Her expertise in nutrition has enabled her to develop recipes for special dietary needs. In 2018, Lindy began working in the Food Media industry, focusing on recipe development, recipe writing, food writing and food styling.


