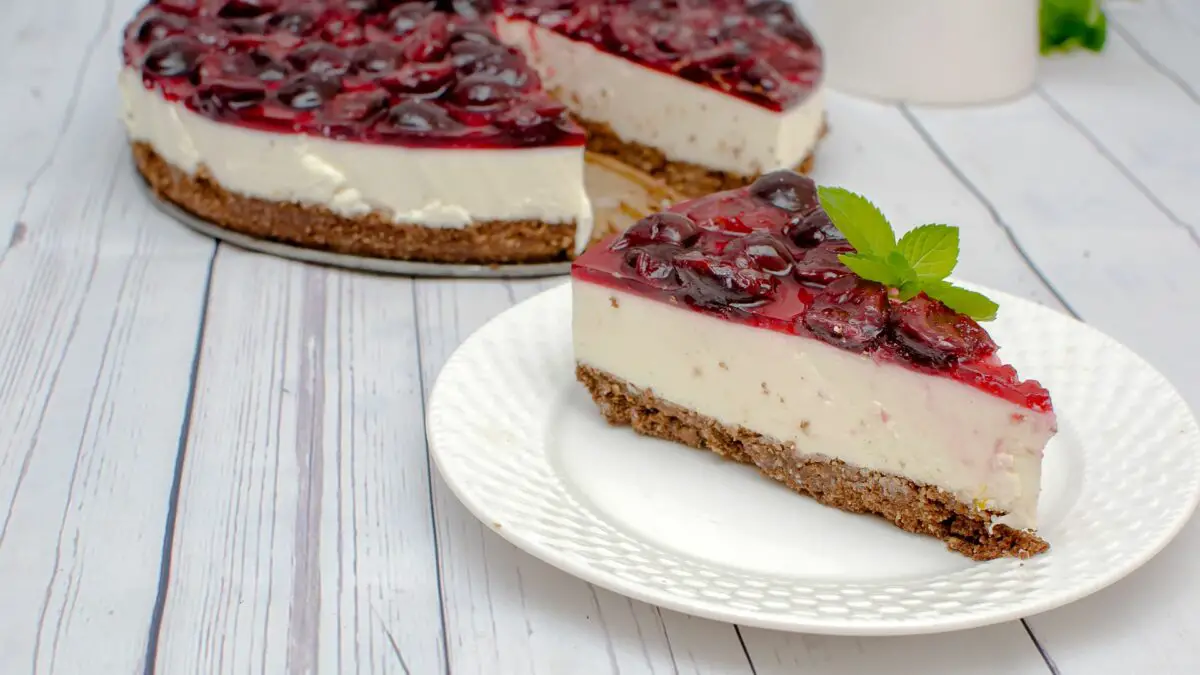
4-Step Easy Keebler No-Bake Cheesecake With Fresh Cherries
Our Keebler no-bake cheesecake is stuffed with authentic cherry flavors. Once it's set in the Keebler crust, you can finish it off with whipped cream.
This recipe only takes about 15-20 minutes to put together. And most of the time is spent waiting for it to set in the fridge. But, once it's ready, don't expect it to last very long! It'll be gone quicker than you took to make it - it's that good!
Servings: 1 cheesecake
Equipment
- 10-inch springform cake pan
- Measuring cups and spoons
- Mixing bowls
- Blender
- Strainer or sieve, fine-meshed
- Electric or hand mixer
- Rubber or silicone spatula
- Plastic or saran wrap
Ingredients
- 1 Keebler Ready Crust, Graham Crackers
- 2 pounds of fresh cherries, pitted and roughly chopped
- 8 ounces full-fat cream cheese, softened at room temperature
- 1/2 cup caster sugar
- 8 ounces Cool Whip, softened at room temperature
- 1/2 teaspoon vanilla extract
- Whipped cream, for garnish
- Fresh whole cherries, for garnish
Instructions
- Prepare the equipment and crustFirst, place the Keebler pie crust inside the fridge. If it was frozen, make sure it is completely thawed.You should also ensure that all of the ingredients are completely softened to room temperature. This helps them create a much smoother lump-free cheesecake batter.1 Keebler Ready Crust, Graham Crackers
- Make the cherry fillingMake sure that all of the cherries are washed, pitted, and roughly chopped. Set aside about 1 3/4 cups of chopped cherries.The rest of the chopped cherries can be placed inside a blender for a couple of seconds. Once the cherries are completely pureed.Strain the blended cherry liquid and press it to extract as much pure cherry juice as you can. Discard any leftover fibers in the sieve. Set the fresh cherry juice aside until needed.2 pounds of fresh cherries, pitted and roughly chopped
- Make the vanilla cheesecake batterPlace the softened cream cheese inside a large mixing bowl. Then, beat it until it is completely smooth in texture.Then, add the caster sugar and keep beating the cream cheese. This will take about 4-5 minutes at medium-high speed to help dissolve the sugar.Then, by hand, whisk in the cherry juice you just made. If you use an electric blender, the mixture may separate or cause a big mess. Once the cherry juice has been added, add the chopped cherries, Cool Whip, and vanilla extract.Fold in the remaining ingredients until you have a completely smooth and uniform batter for your Keebler no-bake cheesecake.8 ounces full-fat cream cheese, softened at room temperature, 1/2 cup caster sugar, 8 ounces Cool Whip, softened at room temperature, 1/2 teaspoon vanilla extract
- Assemble and set the cheesecakeFinally, gently pour the cherry cheesecake batter into your Keebler no-bake pie crust. Smooth out the top and ensure there are no big air pockets.Wrap the entire cheesecake in plastic or saran wrap. Then, place it inside the fridge and allow it to set for at least 6 hours. We always recommend that you leave it to set overnight (about 8-10 hours).
- Garnish the cherry-flavored Keebler no-bake cheesecakeOnce your cherry cheesecake has completely set inside the fridge, you can remove it. Take it out of the aluminum foil crust container if you want to and place it on a cake stand.And lastly, garnish the cherry cheesecake with freshly whipped dollops of piped whipped cream and fresh cherries.Serve immediately or store in an airtight container for 4-5 days.Whipped cream, for garnish, Fresh whole cherries, for garnish
Notes
Many people recommend soaking your blackberries before working with them. This helps remove any small bugs hiding between the tiny bulbs. To soak them, add them to cold salted water. Leave them inside the fridge overnight. The next day, you'll see tiny bugs float on the water. Drain the berries and rinse them under clean running water. Pat them dry before using them. We would say that this step is only necessary when you don't know the quality of your berries. Or if you're using organic berries.
We highly recommend fresh berries for a blackberry topping for cheesecake. You can also use frozen and thawed berries, which already will be soft. Fresh berries will just have a fresher and more pure flavor. Do not use canned or candied blackberries. They are far too sweet for this recipe. You want a slightly sweet topping where the flavor of the berry and cheesecake is most prominent - not a sugar syrup.
You can also create a very thick smooth sauce made from blackberries. To do so, blend the entire cooked berry mixture. Then, add 2 to 3 teaspoons of cornstarch to the saucepan. Slowly add the blended berries while whisking constantly. Once all of the berry juice has been added, place the saucepan back over medium heat and bring the sauce to a simmer. Once simmering, remove it from the heat and allow it to cool.