Delicious Zanze's Cheesecake Recipe In 5 Easy Steps
Our take on Zanze's cheesecake recipe blends traditional recipes with unique techniques to get a perfectly fluffy, firm, and balanced cheesecake.
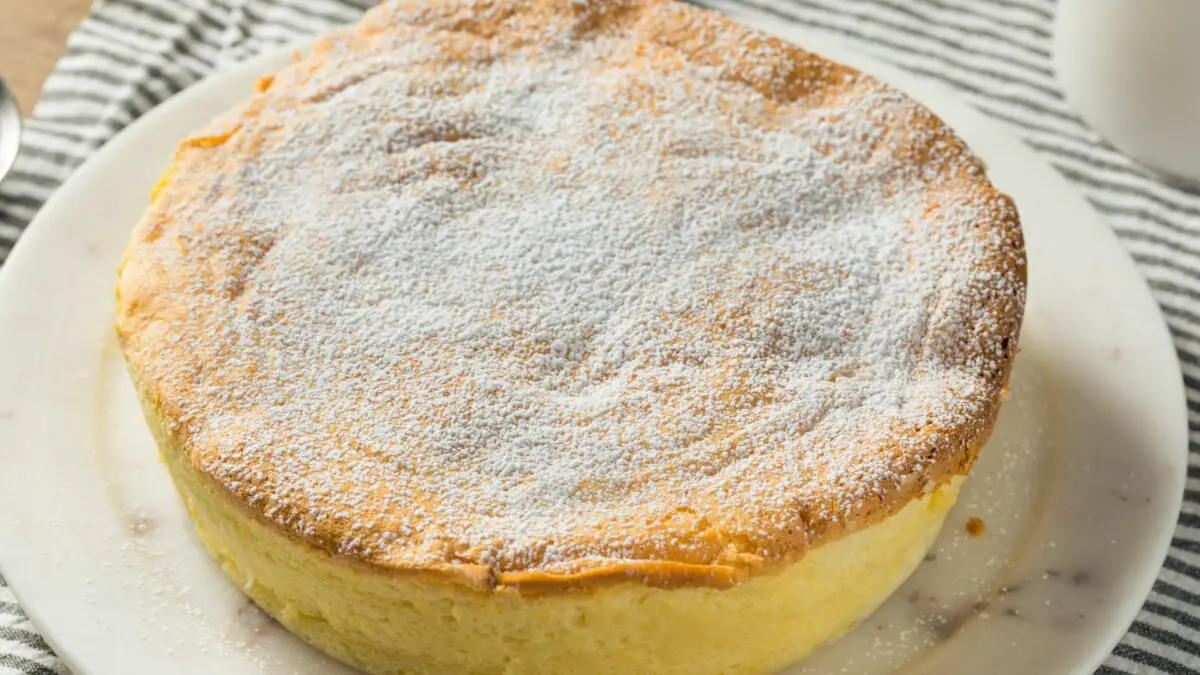
Today, we'll teach you exactly how to make this incredible tangy sweet crustless cheesecake, inspired by Zanze's bakery.
Servings: 10 people
Equipment
- 10-inch springform cake pan
- Non-stick baking paper
- Non-stick cooking spray (or additional melted butter)
- Large roasting tray (water bath)
- Measuring cups and spoons
- Mixing bowls
- Electric or hand mixer
- Rubber or silicone spatula
- Cooling rack
- Plastic or saran wrap
- Food processor, optional
- Cake stand or serving board
Ingredients
- 40 ounces full-fat cream cheese, softened at room temperature
- 1 cup caster sugar
- 1/4 teaspoon fine salt
- 2 teaspoons lemon juice, freshly squeezed
- 1 1/2 teaspoons vanilla extract
- 6 large eggs, room temperature
- 16 ounces Clover Whole Milk
- 2 cups finely crushed Graham crackers
- Powdered sugar, for garnish
Instructions
- Prepare the equipmentStart by preheating the oven to 375ºF (190ºC). Line a 10-inch springform cake pan with non-stick baking paper at the base. Then, spray the sides with non-stick cooking spray. Set it aside.Fill a large roasting tray with boiling water. Place it inside the preheated oven so that it stays as hot as it can.
- Make the cheesecake batterStart by placing the cream cheese in a large mixing bowl. Beat it until it becomes light and fluffy. Only work with softened cream cheese and remember to scrape the bowl as needed. This will ensure all the cream cheese gets worked to the same consistency.Once completely beaten, add the sugar, lemon juice, and vanilla. Mix them in well.Then, add one egg at a time. After every added egg, beat the mixture well so the egg gets fully incorporated. Then add another, and repeat the process until all the eggs are fully incorporated.Finally, add the Clover milk and mix it in well. Then, beat the mixture at a high speed for 5 minutes so it can become aerated.40 ounces full-fat cream cheese, softened at room temperature, 1 cup caster sugar, 2 teaspoons lemon juice, freshly squeezed, 1 1/2 teaspoons vanilla extract, 6 large eggs, room temperature, 16 ounces Clover Whole Milk, 1/4 teaspoon fine salt
- Bake the cheesecakeGently pour the cheesecake batter into your prepared springform cake pan. Then, place it inside the water bath.Bake the cheesecake for about 40-55 minutes on the middle rack. Don't open the oven until at least 40 minutes have elapsed. At that time, you can check the doneness of the cheesecake by doing a jiggle test.
- Cool the cheesecakeOnce you are confident that your cheesecake has been fully baked, switch off the oven and open the door slightly. Allow the cheesecake to cool for 1 hour inside the cooling oven.Then, remove the cheesecake from the oven and allow it to cool completely at room temperature for another hour.Finally, wrap the entire cake pan with plastic or saran wrap. Place the cheesecake inside the fridge to set for at least 4 hours. We prefer setting ours overnight.
- Assemble the cheesecakeOnce the cheesecake has been set, remove it from the springform pan. Then, place it on a cake stand or serving board.Then, cover the entire surface with a layer of Graham cracker crumbs. It should be heavily packed so it's covered well. Then, dust the surface with sifted powdered sugar.2 cups finely crushed Graham crackers, Powdered sugar, for garnish
Notes
When you initially check the doneness of the cheesecake (after 40 minutes), don't insert anything into the cheesecake. It will crack. Only jiggle the cake to see how far it has been baked. If it doesn't jiggle or only jiggles in the center inch of the cake, you can test the temperature if you'd like. But, the jiggle test should be enough of an indication that the cake is ready to cool